
How to Choose Photos for a Commitment Graphic
Your commitment graphic starts with you. A clear photo gives your expression, uniform and movement room to do the work. You do not need a new photoshoot—start with the strongest images you already have permission to use.
Start with a clear view of the athlete
Choose a photo where your face and body are easy to distinguish from the background. Look for a sharp face, useful detail in your uniform, and lighting that does not hide your features.
An action shot can bring energy. A posed portrait can feel focused and composed. Pick the image that feels like your announcement, rather than choosing a pose just because another athlete used it.
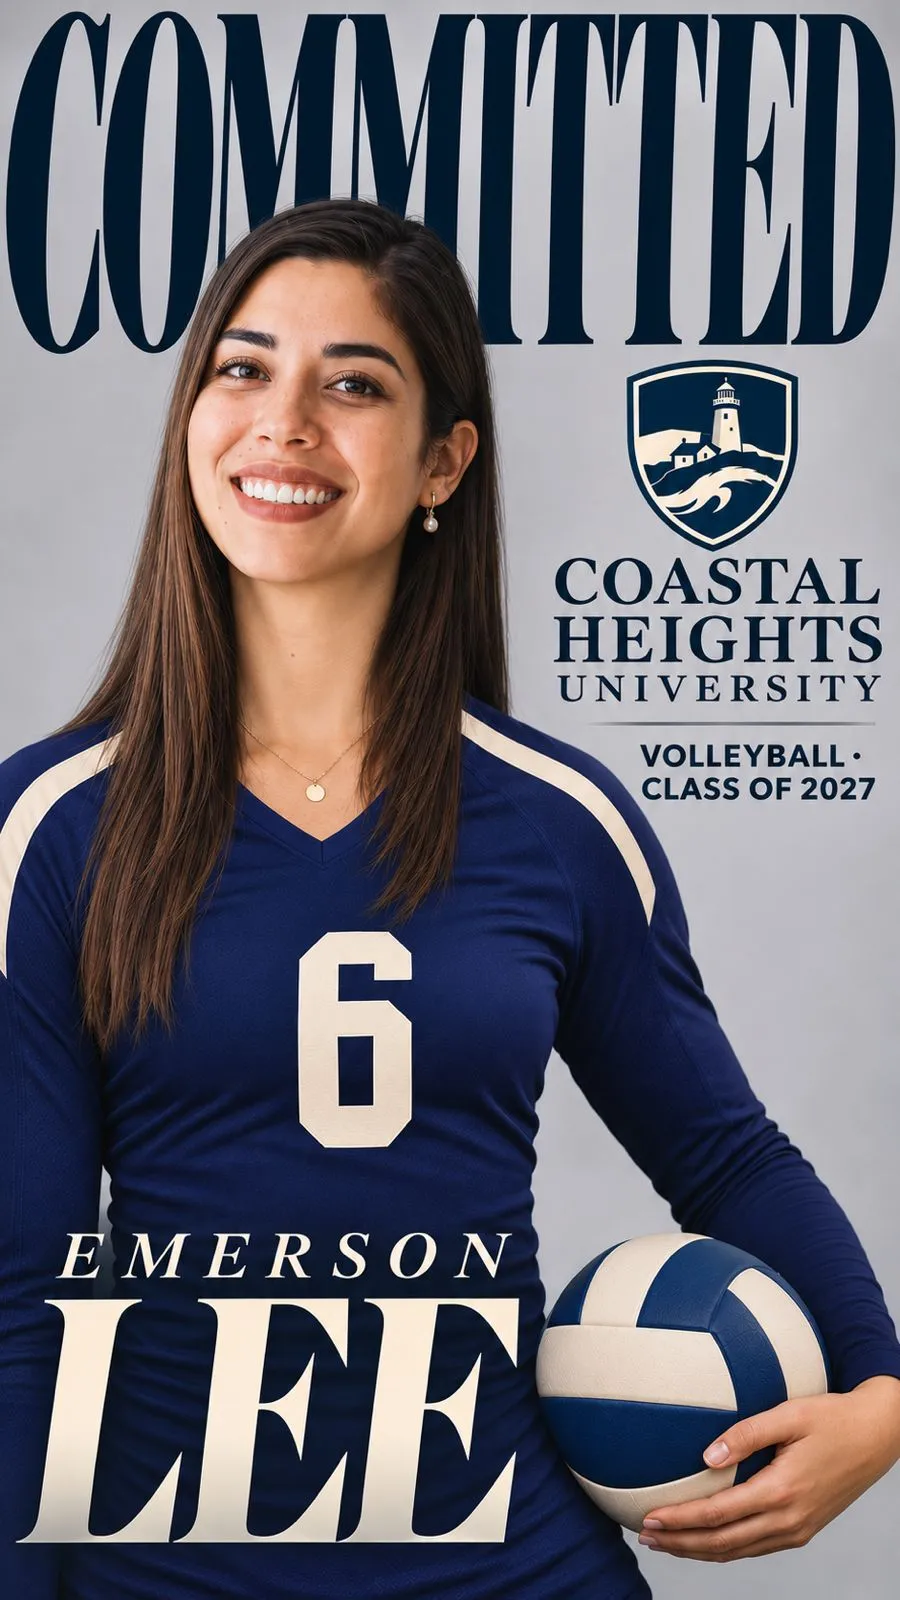
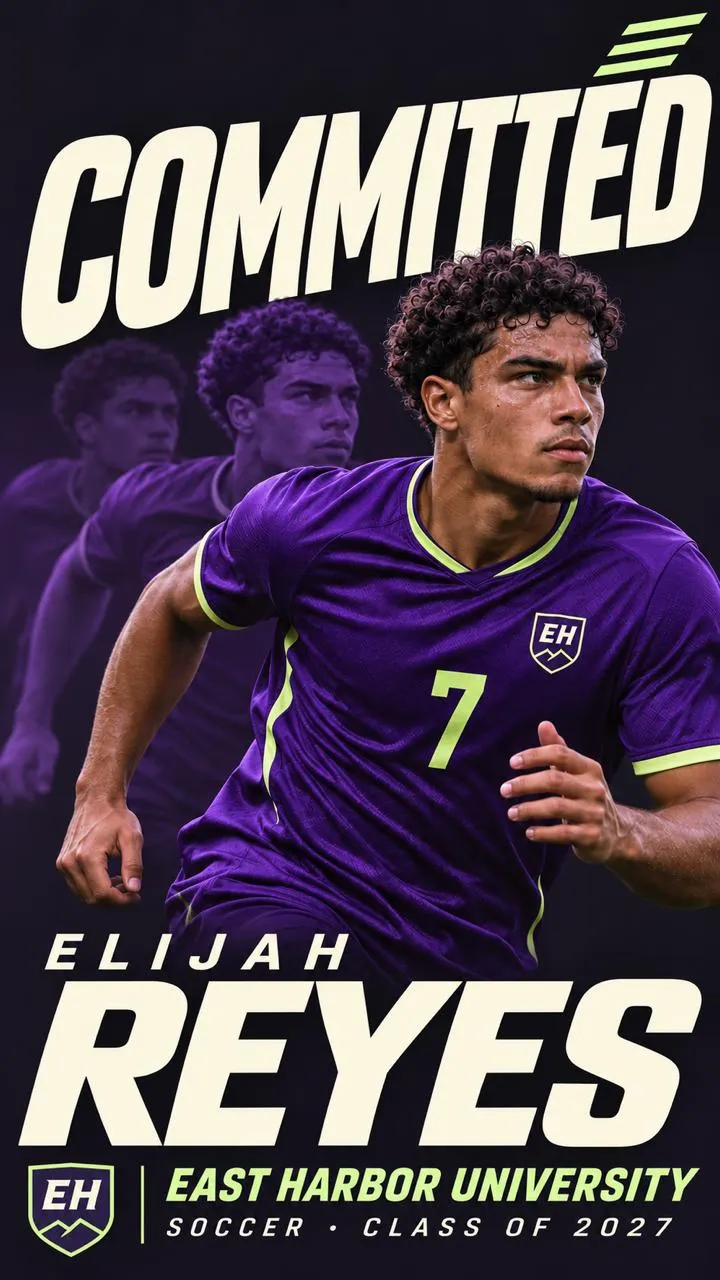
Sample graphics: one built around a posed portrait, one around an action shot.
If the graphic will feature a full-body pose, start with a full-body photo. Avoid cutting off a hand, foot or piece of equipment you want in the finished design. Do not rely on the creation process to reconstruct missing details accurately.
Useful starting point: face and uniform in focus.
Try another photo if possible: heavy motion blur across the main subject.
Keep enough detail and enough room
Choose a frame where you are large enough to see clearly, with space around the parts you want to keep. A very wide shot can leave too little detail; a tight crop can remove a hand or the top of your head.
Useful starting point: athlete clearly visible, with the important pose inside the frame.
Try another photo if possible: athlete small in the distance, or important details cut off.
Look for a face you can see
Check that the lighting leaves your face visible. Strong backlighting can put it in shadow. A less dramatic photo with a clear expression may be a better starting point.
Useful starting point: face and uniform details remain visible.
Try another photo if possible: strong shadow hides the features you want to show.
Find the original file
Use the original photo from your camera, photographer or download gallery when available. A screenshot of a social post may already be cropped or compressed.
Before uploading, zoom in on your face. If the details are already blurred, choose another image if you have one. Enlarging a small file does not restore the detail that was missing.
Keep an untouched copy. You can compare options without losing the source image.
Keep the photo simple
For the main athlete image, favor a frame where you are easy to identify. A crowded team photo makes it harder to see which person should lead the graphic. Avoid heavy beauty filters, large text overlays or graphics pasted over your body.
You do not need a perfectly plain backdrop. A field, gym or stadium can work well if you remain clearly visible. When choosing between similar shots, start with the one where the athlete stands out most clearly.
If you are using more than one photo
Give each photo a job. For example:
- Main image: a clear portrait or full-body pose.
- Supporting image: an action moment that adds movement.
- Detail image: a closer expression or meaningful sporting detail.
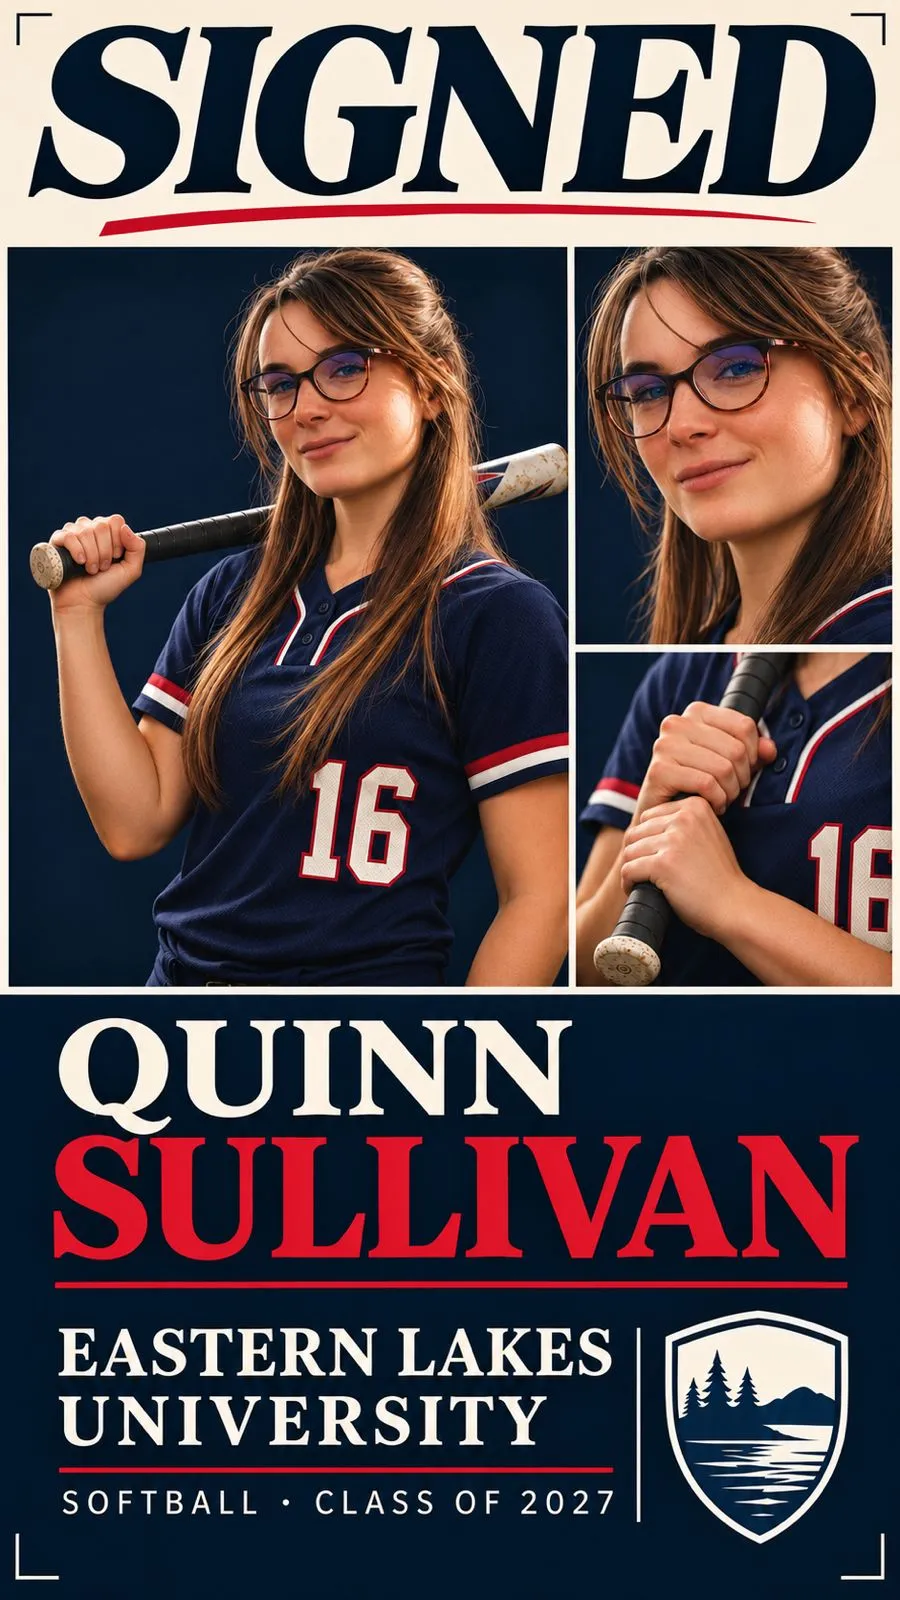
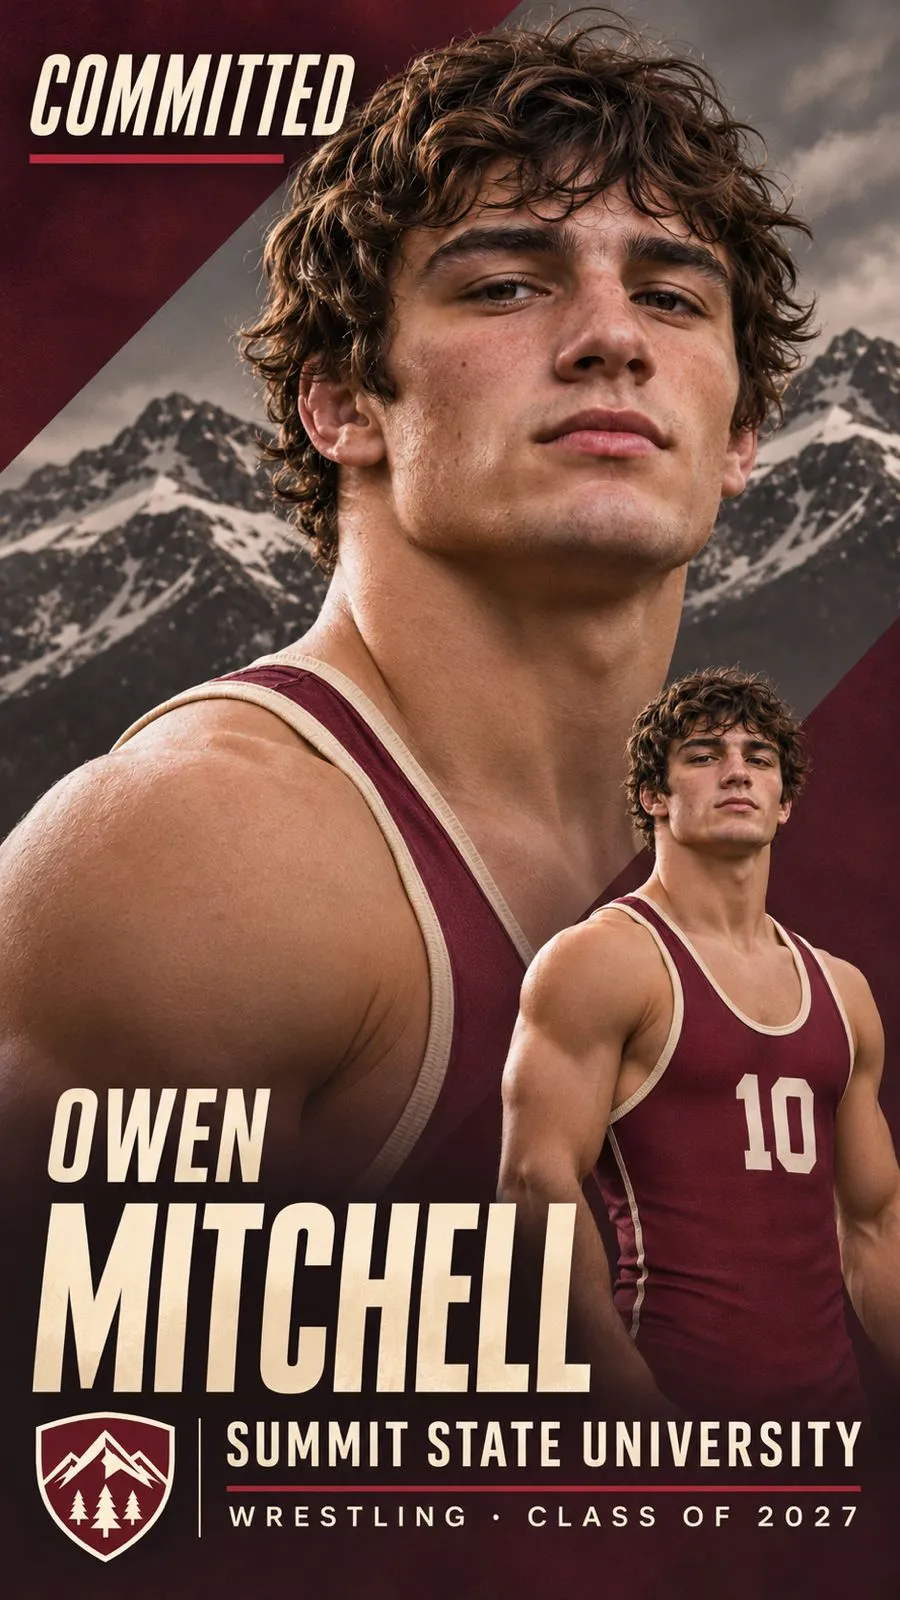
Sample graphics: each photo has its own job in the composition.
Two versions of nearly the same pose may add less than one strong image. Check that all photos show the athlete you intend to feature and feel appropriate together.
Gather your announcement details
Keep these beside your photos:
- Your name exactly as you want it displayed.
- The college or team name, with spelling checked.
- Your sport and any position, number or class year you want included.
- The team colors you want to use.
- The occasion: commitment or signing day.
These are preparation suggestions, not a promise that every item appears in every design. Review the choices available in the creation tool.
Check permission before uploading
Make sure you are allowed to use the photo for this purpose. Being in a photograph does not by itself tell you what uses its owner has permitted. If a photographer supplied it, check the permission or ask them. Do not remove a watermark to get around a restriction.
Before creating an animated or printed version, check that your permission covers that use too. This is a practical reminder, not a determination of your rights.
Your quick photo checklist
- I am clearly visible and the important details are sharp.
- I have the original file, or the best available copy.
- The pose is not cropped in a way that removes details I want.
- I have permission to use the photo for my intended graphic and its extensions.
- My name, team and announcement details are ready.
Put your photo to work
See what you can create with the Sportlight college commitment graphic maker, or try the signing day graphic maker if you are celebrating your signing.
Then plan the rest of your post with our guide on how to announce your college commitment.
Create Your Graphic